Home Sweet Studio: 11 Considerations When Building Your Ideal Home Recording Space
Reading Time: 6 minutes
Embarking on the journey of creating your ideal home recording space is a thrilling endeavor that promises to unlock creativity within the comfort of your own walls. In this Redfin article, we explore tips and insights from different experts to help ensure your home studio is the perfect mix of musical expression and audio excellence. So, whether you’re looking to build your recording space in an apartment in Providence, RI, or your home in Cambridge, MA, buckle up as we craft a home recording space that meets your aspirations.
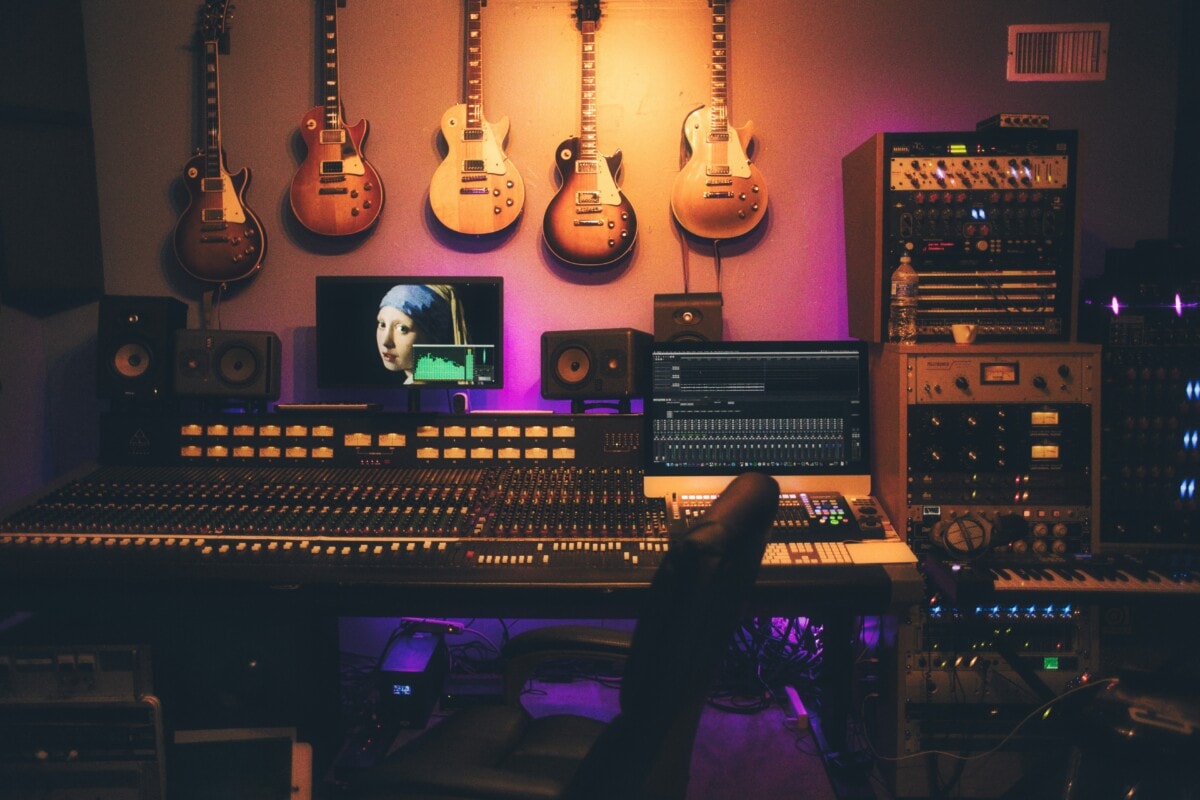
1. Inspect and test your environment first
Inspecting and testing your environment before building a home recording studio is essential to pinpoint and address acoustic challenges, guaranteeing optimal sound quality and minimizing unwanted noise.
“The first thing to consider when installing a home studio is to inspect and test the environment, both the interior and exterior, for noise,” recommends noise control solution company SoundProof Atlanta. “Selecting the brick side of the home would be better than the siding side.”
Chris Steinmetz, Owner and Producer of Stonecutter Recording Studios, recommends “choosing a space with the best location for sound and weather isolation. This includes noise and sound getting in from external sources and the sounds you make being isolated from disturbing others such as neighbors or family. This space should also have good cooling as equipment can generate a lot of heat and must be operated in a cool, dry environment to prevent damage.”
Looking for more inspiration?
2. Select a room with low noise and different dimensions
Selecting a room with low ambient noise and varied dimensions is crucial when building a home recording studio as it minimizes external disturbances. Different dimensions also help prevent standing waves and room resonances, creating a more balanced and natural sound in the studio space.
“When building a home studio, select a room with low internal and external noise,” shares online mixing and mastering company Audio Sorcerer. “It’s best to avoid square-shaped rooms because they tend to produce sound reflections.”
“When choosing a room in your home for recording, prioritize three key aspects. First, choose a room to be as quiet and free from outside noise as possible. Second, larger rooms are generally easier to work with than smaller ones. Third, avoid rooms with equal width, depth, and height dimensions, which can negatively impact sound quality,” adds the creative collaboration platform Vampr.
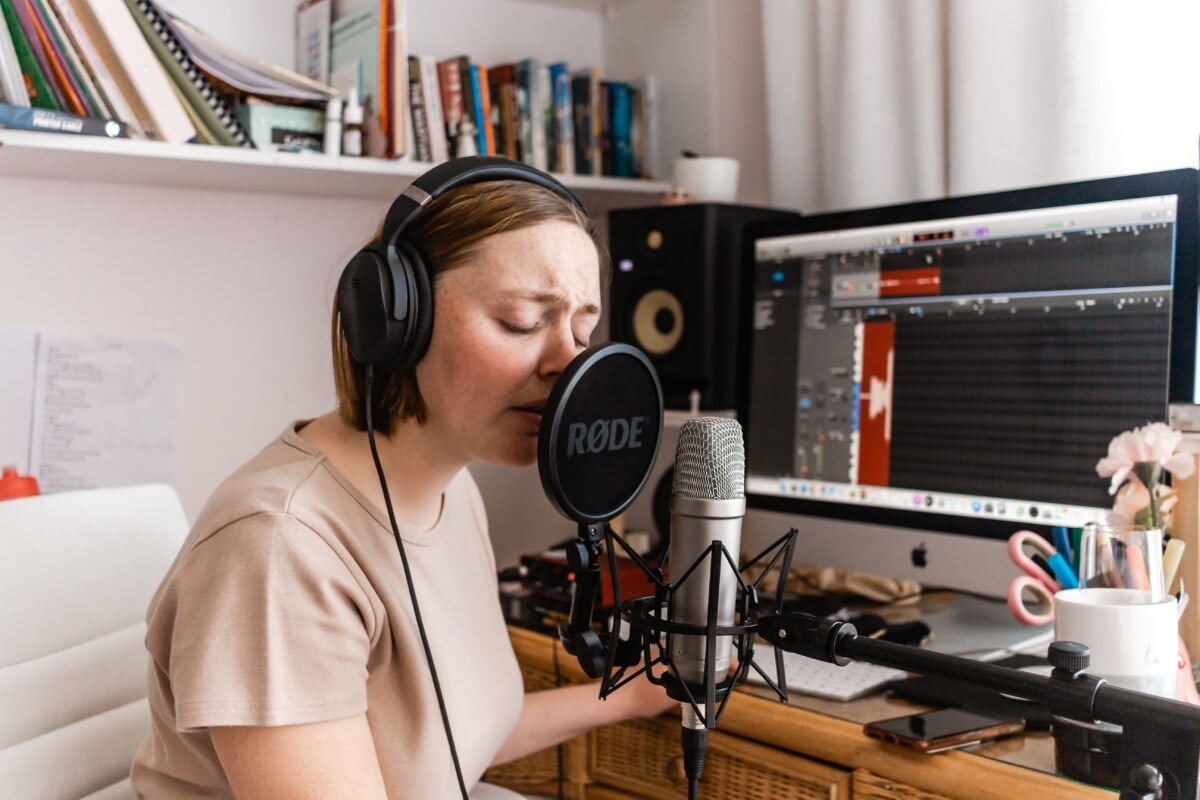
3. Build your studio on an existing concrete slab
Building your studio on a concrete slab is important for a home recording studio as it helps minimize vibrations and sound transmission.
Soundproofing website Soundproof Your Studio says, “To isolate sound, build your studio on an existing concrete slab. This could be a garage, a basement, or even building a studio in your backyard. The concrete slab serves as the sound-isolating floor for your studio and is the critical starting point for any home studio that wants good soundproofing.”
4. Treat the trouble spots in your room
You can have the best speakers in the world, but if you don’t at least treat the ‘trouble spots’ in the room, you’ll never get an accurate picture of what you’re hearing.
“Bass traps in the corner, absorption in early reflection points, and diffusers on the back wall (the wall opposite the speakers) are the first and best things to handle,” notes Smart Boy Studios. “Additionally, center your desk and speakers in the room, put distance between your speakers and the wall behind them, and add furniture to the room to absorb and break up sound.”
“Opt for directional LED lights to create a well-lit, focused atmosphere. Invest in a condenser microphone and a shock mount to capture clear, professional-grade audio,” adds Nebraska-based Lincoln School of Music.
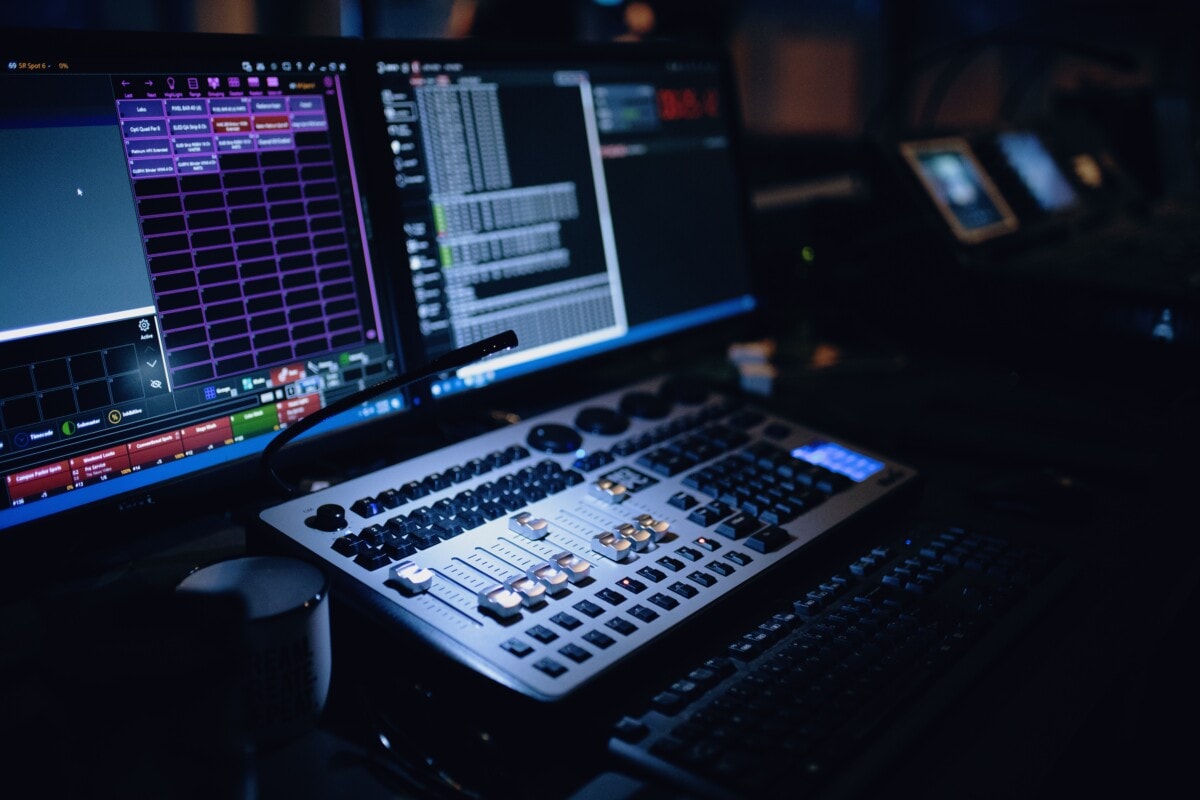
5. Be selective with your acoustic treatment
In general, people greatly underestimate the amount of acoustic treatment needed for a control room.
“When you put up spot panels that are only 2-4 inches thick, you’re only affecting the midrange frequencies and up – while most rooms need the most help below 200hz. In general, the more absorptive mass, the better. In my studio, the corners have about 4 FEET of Roxul/mineral wool in addition to the entire room’s walls and ceiling having between 4-8 inches of mineral wool in all spots instead of drywall,” shares production company Evergreen Records.
DJ mixing tool DJ. Studio adds, “Consider investing in high-quality acoustic treatment for your recording space. Properly placed bass traps, acoustic panels, and diffusers can improve sound quality by reducing unwanted reflections and controlling room resonance. This ensures your recordings are clear and free from undesirable audio artifacts.”
Acoustic treatment company Timber Acoustics notes, “Even thick curtains, carpets, and furniture can help acoustically treat a room. For instance, a bookshelf can act as a diffuser, with the books acting as slots to help diffuse soundwaves.”
6. Make use of bedding and other linens
“The simplest way to create a sound-safe space for your creative audio adventures is to use your bedding and other linens, pillows, blankets, sheets, towels, curtains, and more are the perfect sound-deadening pieces we all have lying around. Hanging blankets or thick sheets and curtains on the wall is a great start. Using pillows as bass traps is another great way to control those low-end frequencies that can get stuck in corners and cause a rumbling effect felt by anyone within the dwelling,” says music teacher The Career Musician.
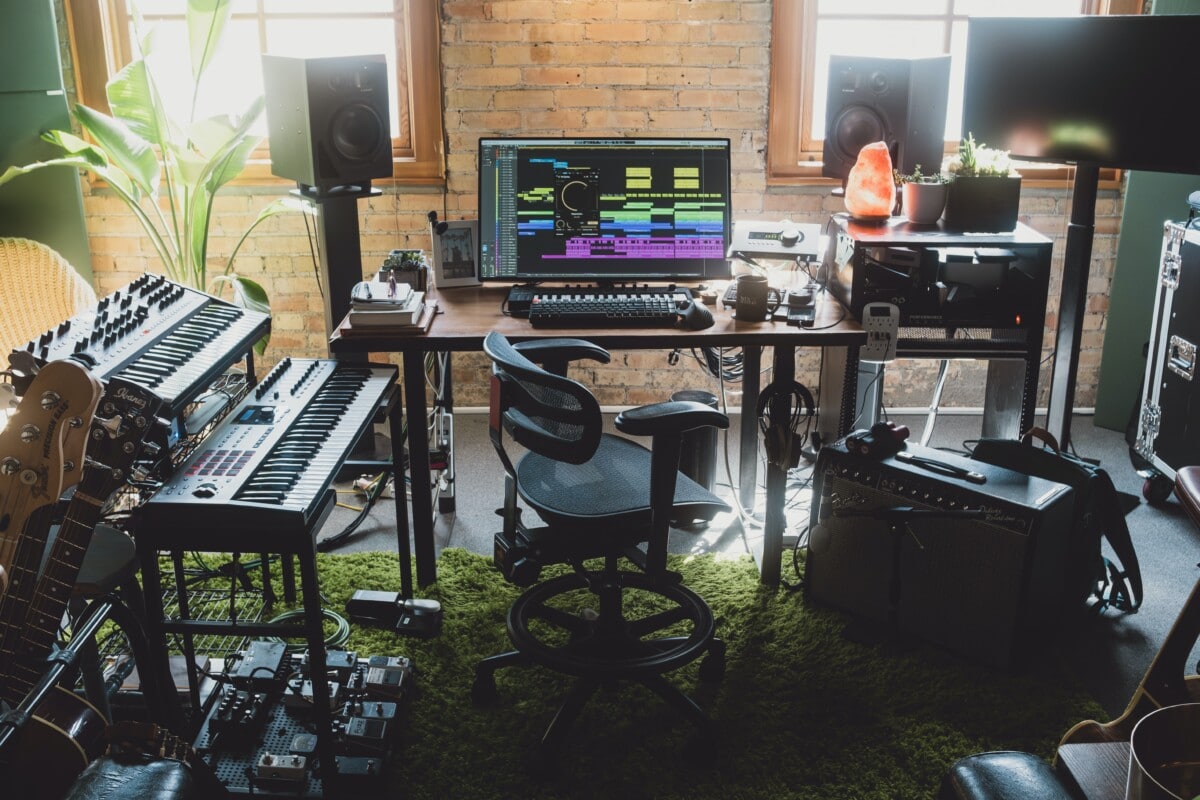
7. Purchase a good mic and proper sound suppression products
Purchasing a good microphone and proper sound suppression products is essential when building a home recording studio to capture high-quality audio and minimize background noise, ensuring professional-grade recordings.
Wedding DJ Love Plus One shares, “My advice to someone building a studio is to purchase a good mic and proper sound suppression products. Quality of sound and keeping unwanted sounds out is crucial to a clean recording.”
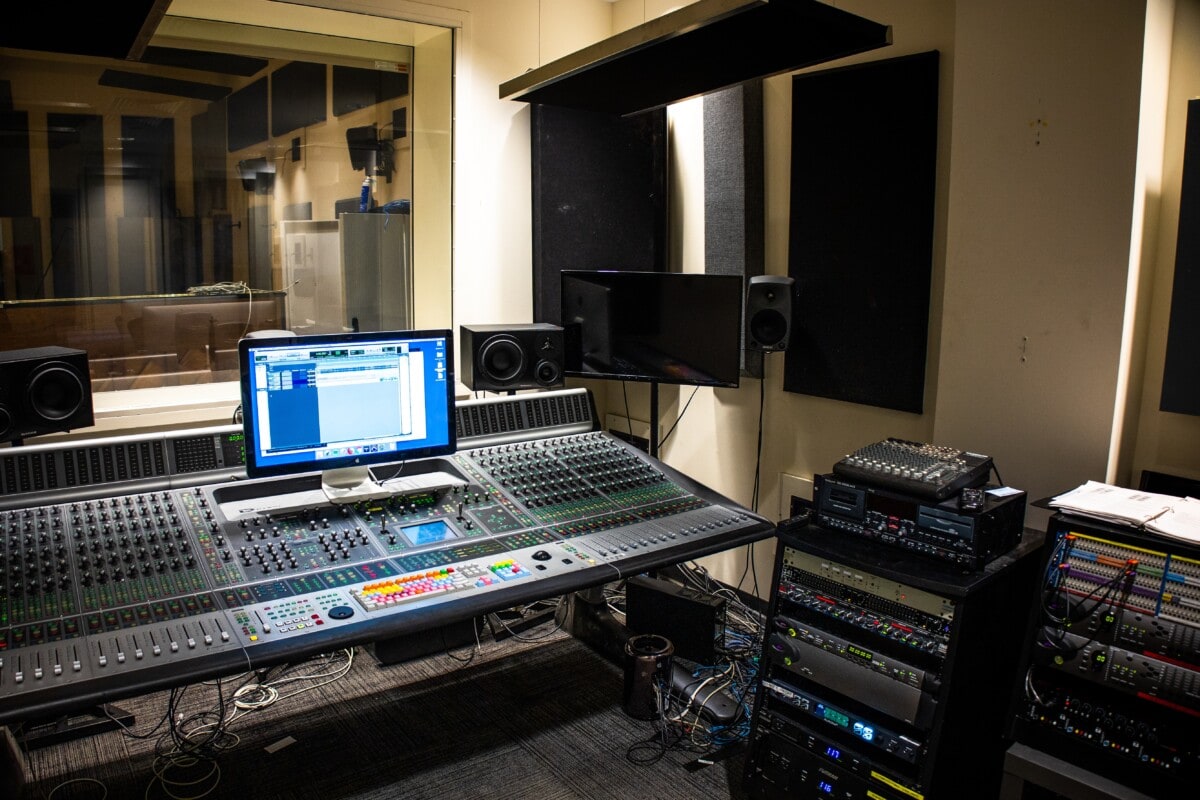
8. Install a Digital Audio Workstation
To install a Digital Audio Workstation (DAW) means setting up the necessary software on your computer that allows you to record, edit, and produce audio. This software serves as the central hub for music or audio production, providing tools for recording, mixing, and applying various effects.
“One of the most essential components is the Digital Audio Workstation (DAW). It is one of the primary components of every studio. Whether new or a pro, having the right software can make or break you. It’s important to research which program works for your experience level,” suggests James Hall, Owner of My House Radio.
9. Get a variety of music equipment
It’s important to get various music equipment when building a home recording studio to ensure versatility in capturing different sounds and accommodating diverse musical genres.
“When building an at-home recording booth, you need to get as much variety from your musical equipment as possible,” remarks Awesome Guitars. “It is unrealistic to have a wide arsenal of instruments at your disposal, so the instruments you do have must be versatile enough to create the sounds you desire.”
10. Decorate your studio with items that inspire you
Decorating your studio when building a home recording studio is important to create an inspiring and comfortable atmosphere.
Vocal marketplace Voclio shares, “Decorate your studio with items that inspire you, such as artwork, meaningful memorabilia, or mood lighting. A creative and inspiring environment can enhance your productivity.”
“Creating an inspiring space where you’re excited to hang out and create is just as important. Think about the vibe, and add some personal touches. Working in a creative atmosphere can boost your recording sessions,” adds sample service Tracklib.
“Create a vibe. Decorate your studio in a way that will inspire you to create music, such as hanging color-changing light strips or light bulbs within the space, hanging colorful or artistic pictures or quotes around the space, and some lightly scented candles or incense around the space,” remarks DJ Gurl.
11. Customize your furniture
Customizing your furniture when building a home recording studio is crucial to optimize the layout for ergonomic efficiency.
“When creating the perfect at-home recording space, my top advice is to focus on customizing your furniture,” states Prism DJs. “I faced challenges finding the ideal size for my turntables, mixer, and studio monitors. To overcome this, I had my DJ booth custom-made to fit my specific needs.”

Ryan Castillo
Content Marketing Manager
Ryan is part of the Content Marketing team and enjoys writing about market trends and local insights. His dream home would be a large cape-cod-style house by the beach.


Leave A Comment
You must be logged in to post a comment.